How to Make Pickles at Home: A Beginner’s Guide
Many people ask how to make pickles at home, and the answer is usually simpler than they expect. At Culinary Eye, we see it all the time in our cooking classes—someone takes a bite of a bright, crunchy pickle, realizes they could make it themselves, and suddenly they want to try. Pickling has that effect. It feels hands-on and easygoing, turning a few basic ingredients into something you can share with friends without much fuss. While many vegetables can be pickled, most beginners start by learning how to make pickles from cucumbers because they're easy to prepare and absorb flavor quickly. Their mild flavor and firm texture make them one of the easiest vegetables to pickle successfully.
In this guide, you'll learn what quick pickling actually means, which ingredients to keep on hand, and how to build flavors you'll want to return to again and again. By the end, you'll have everything you need to understand how to make pickles at home with confidence and adapt the recipe to suit your own taste.
Understanding the Basics of Quick Pickling
Before you gather supplies, it helps to understand how quick pickling works. When people search for how to make pickles at home, they often picture long canning days or heavy equipment. Quick pickling avoids all that. You simmer a vinegar brine, pour it over prepared vegetables, and let the mixture rest. The acid handles the work, so the process stays manageable.
Quick pickles rely on three things: acidity, salt, and time. These elements change texture and sharpen flavor without needing heat-based preservation. Because the jars stay refrigerated, they remain crisp and clean-tasting. This style works well for beginners who want flavor without complication. It also helps you practice basic cooking techniques in a low-pressure way. Because quick pickles aren't shelf stable, they should always be stored in the refrigerator and prepared using clean jars and fresh ingredients.
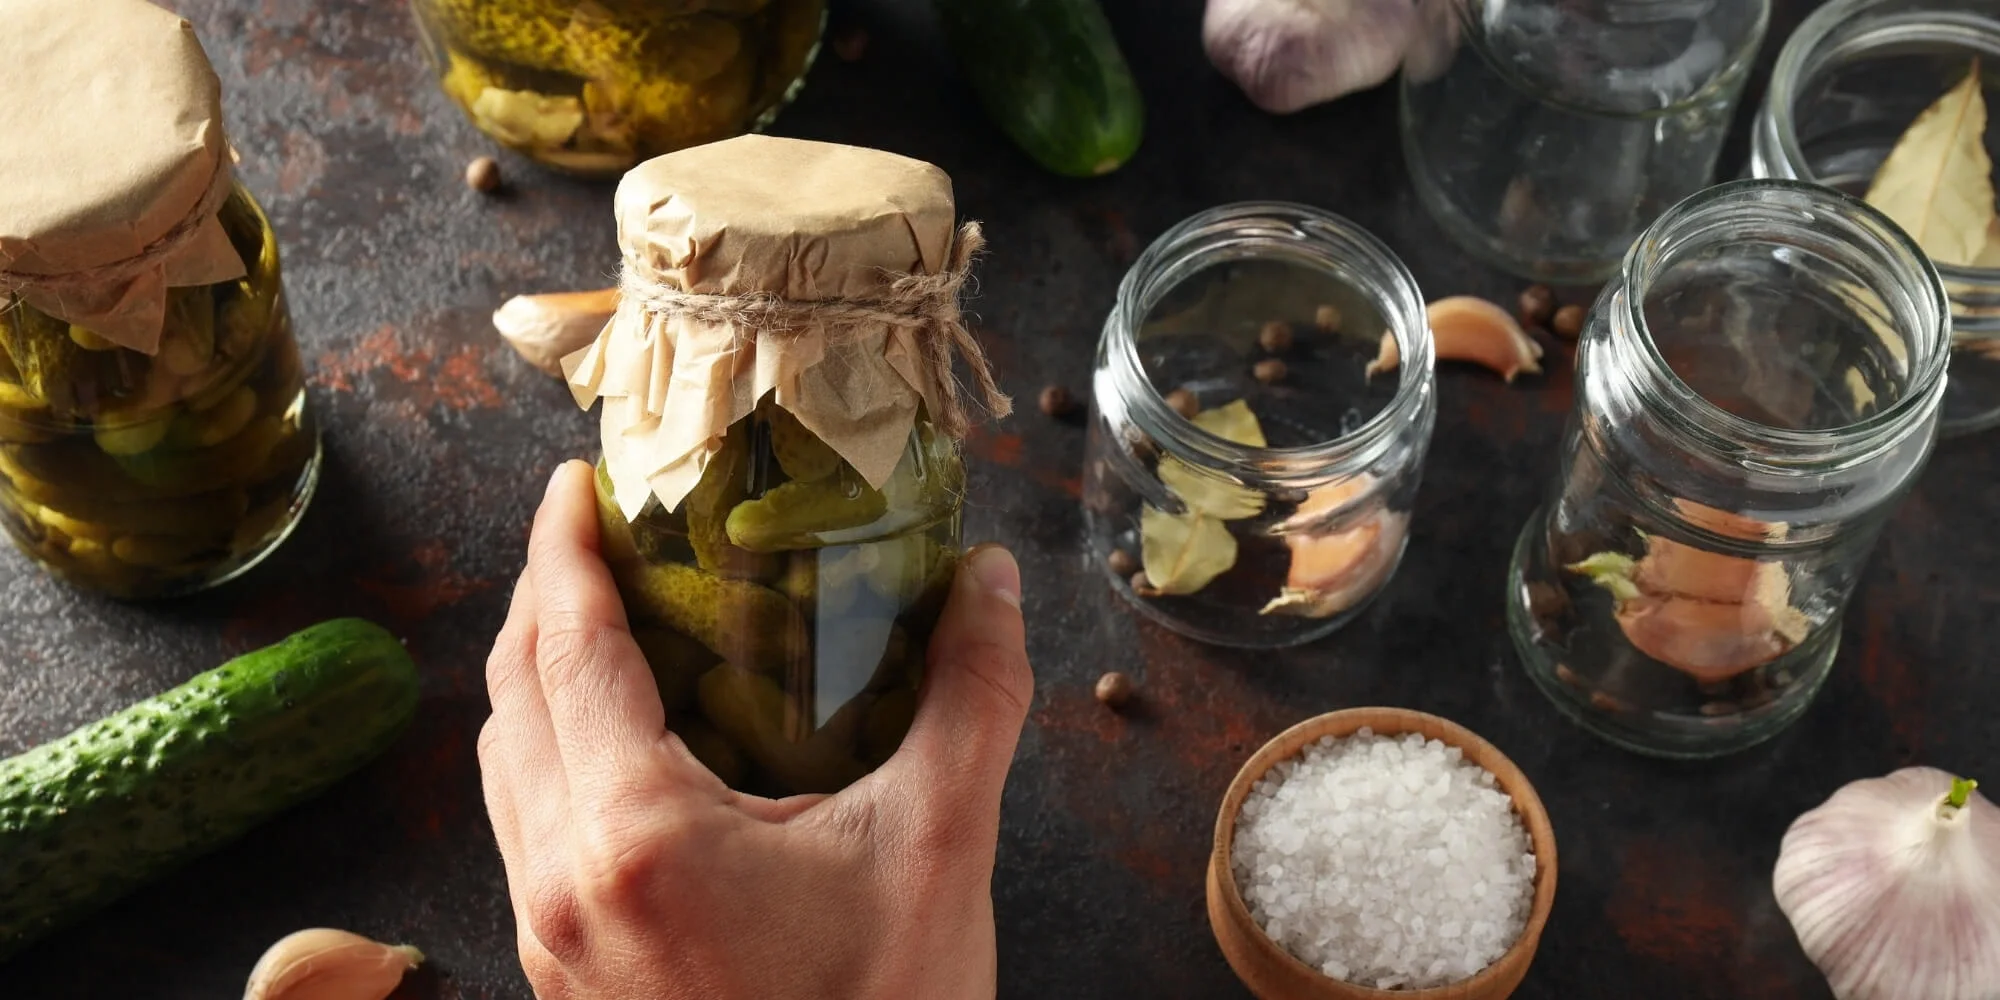
Pickling Ingredients: What You'll Need Before You Begin
You only need a few items to start. A short list keeps the focus on learning how to make pickles at home without unnecessary tools.
Here's what helps most:
Clean jars: Glass jars with tight lids work best.
Fresh produce: Cucumbers, carrots, onions, radishes, or beans.
Vinegar: White or apple cider vinegar for acidity.
Salt: Pickling salt or kosher salt without additives.
Sugar: Optional but helpful for balance.
Spices: Peppercorns, mustard seeds, coriander, or chile flakes.
Herbs: Dill, bay leaves, thyme, or garlic.
Water: To dilute the vinegar and control brightness.
Together, these pickling ingredients create the balance of acidity, seasoning, and aroma that gives homemade pickles their crisp texture and bright flavor. Once you have these essentials on hand, you can easily adapt the recipe to suit your taste.
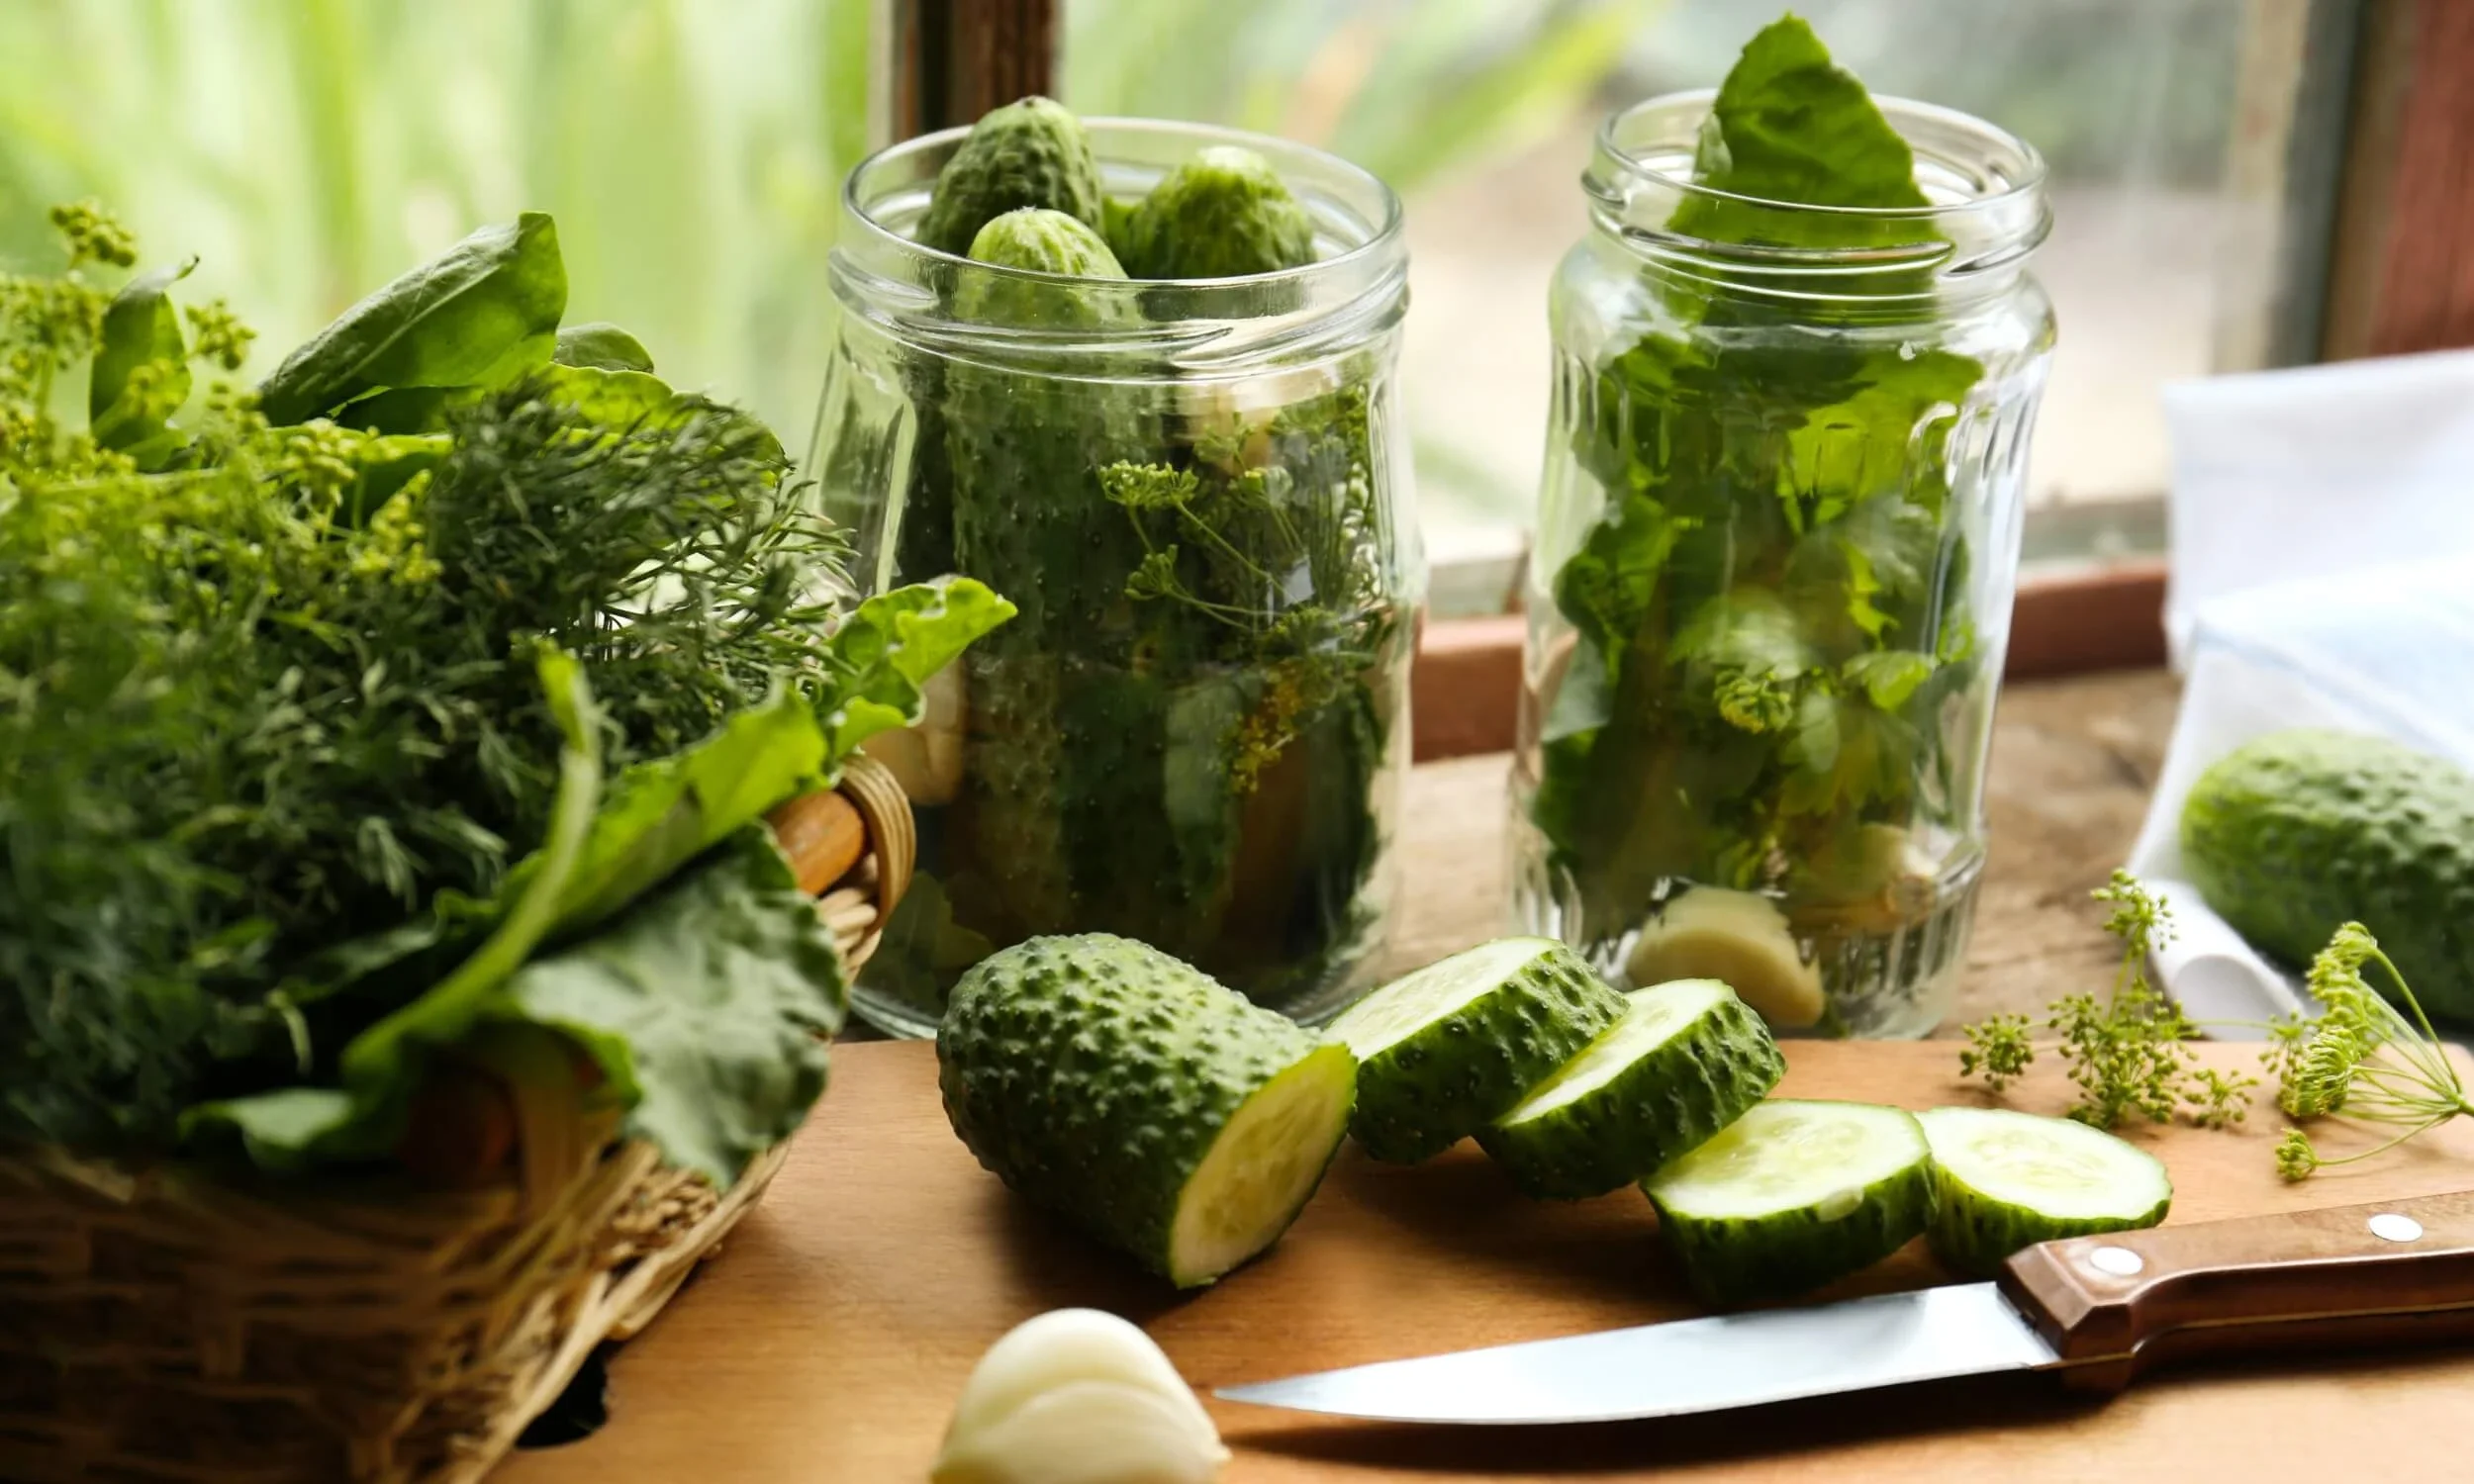
Homemade Pickles Recipe: How to Make Your First Jar
Once you have your supplies ready, you're ready to learn how to make pickles at home using this simple step-by-step method. The preparation takes about 15 to 20 minutes, followed by at least 24 hours of refrigeration before the pickles are ready to enjoy.
Follow these steps:
Prepare the vegetables: Slice them into uniform pieces so they pickle evenly.
Warm the brine: Simmer vinegar, water, salt, and sugar until dissolved.
Pack the jars: Add vegetables with spices and herbs that suit your taste.
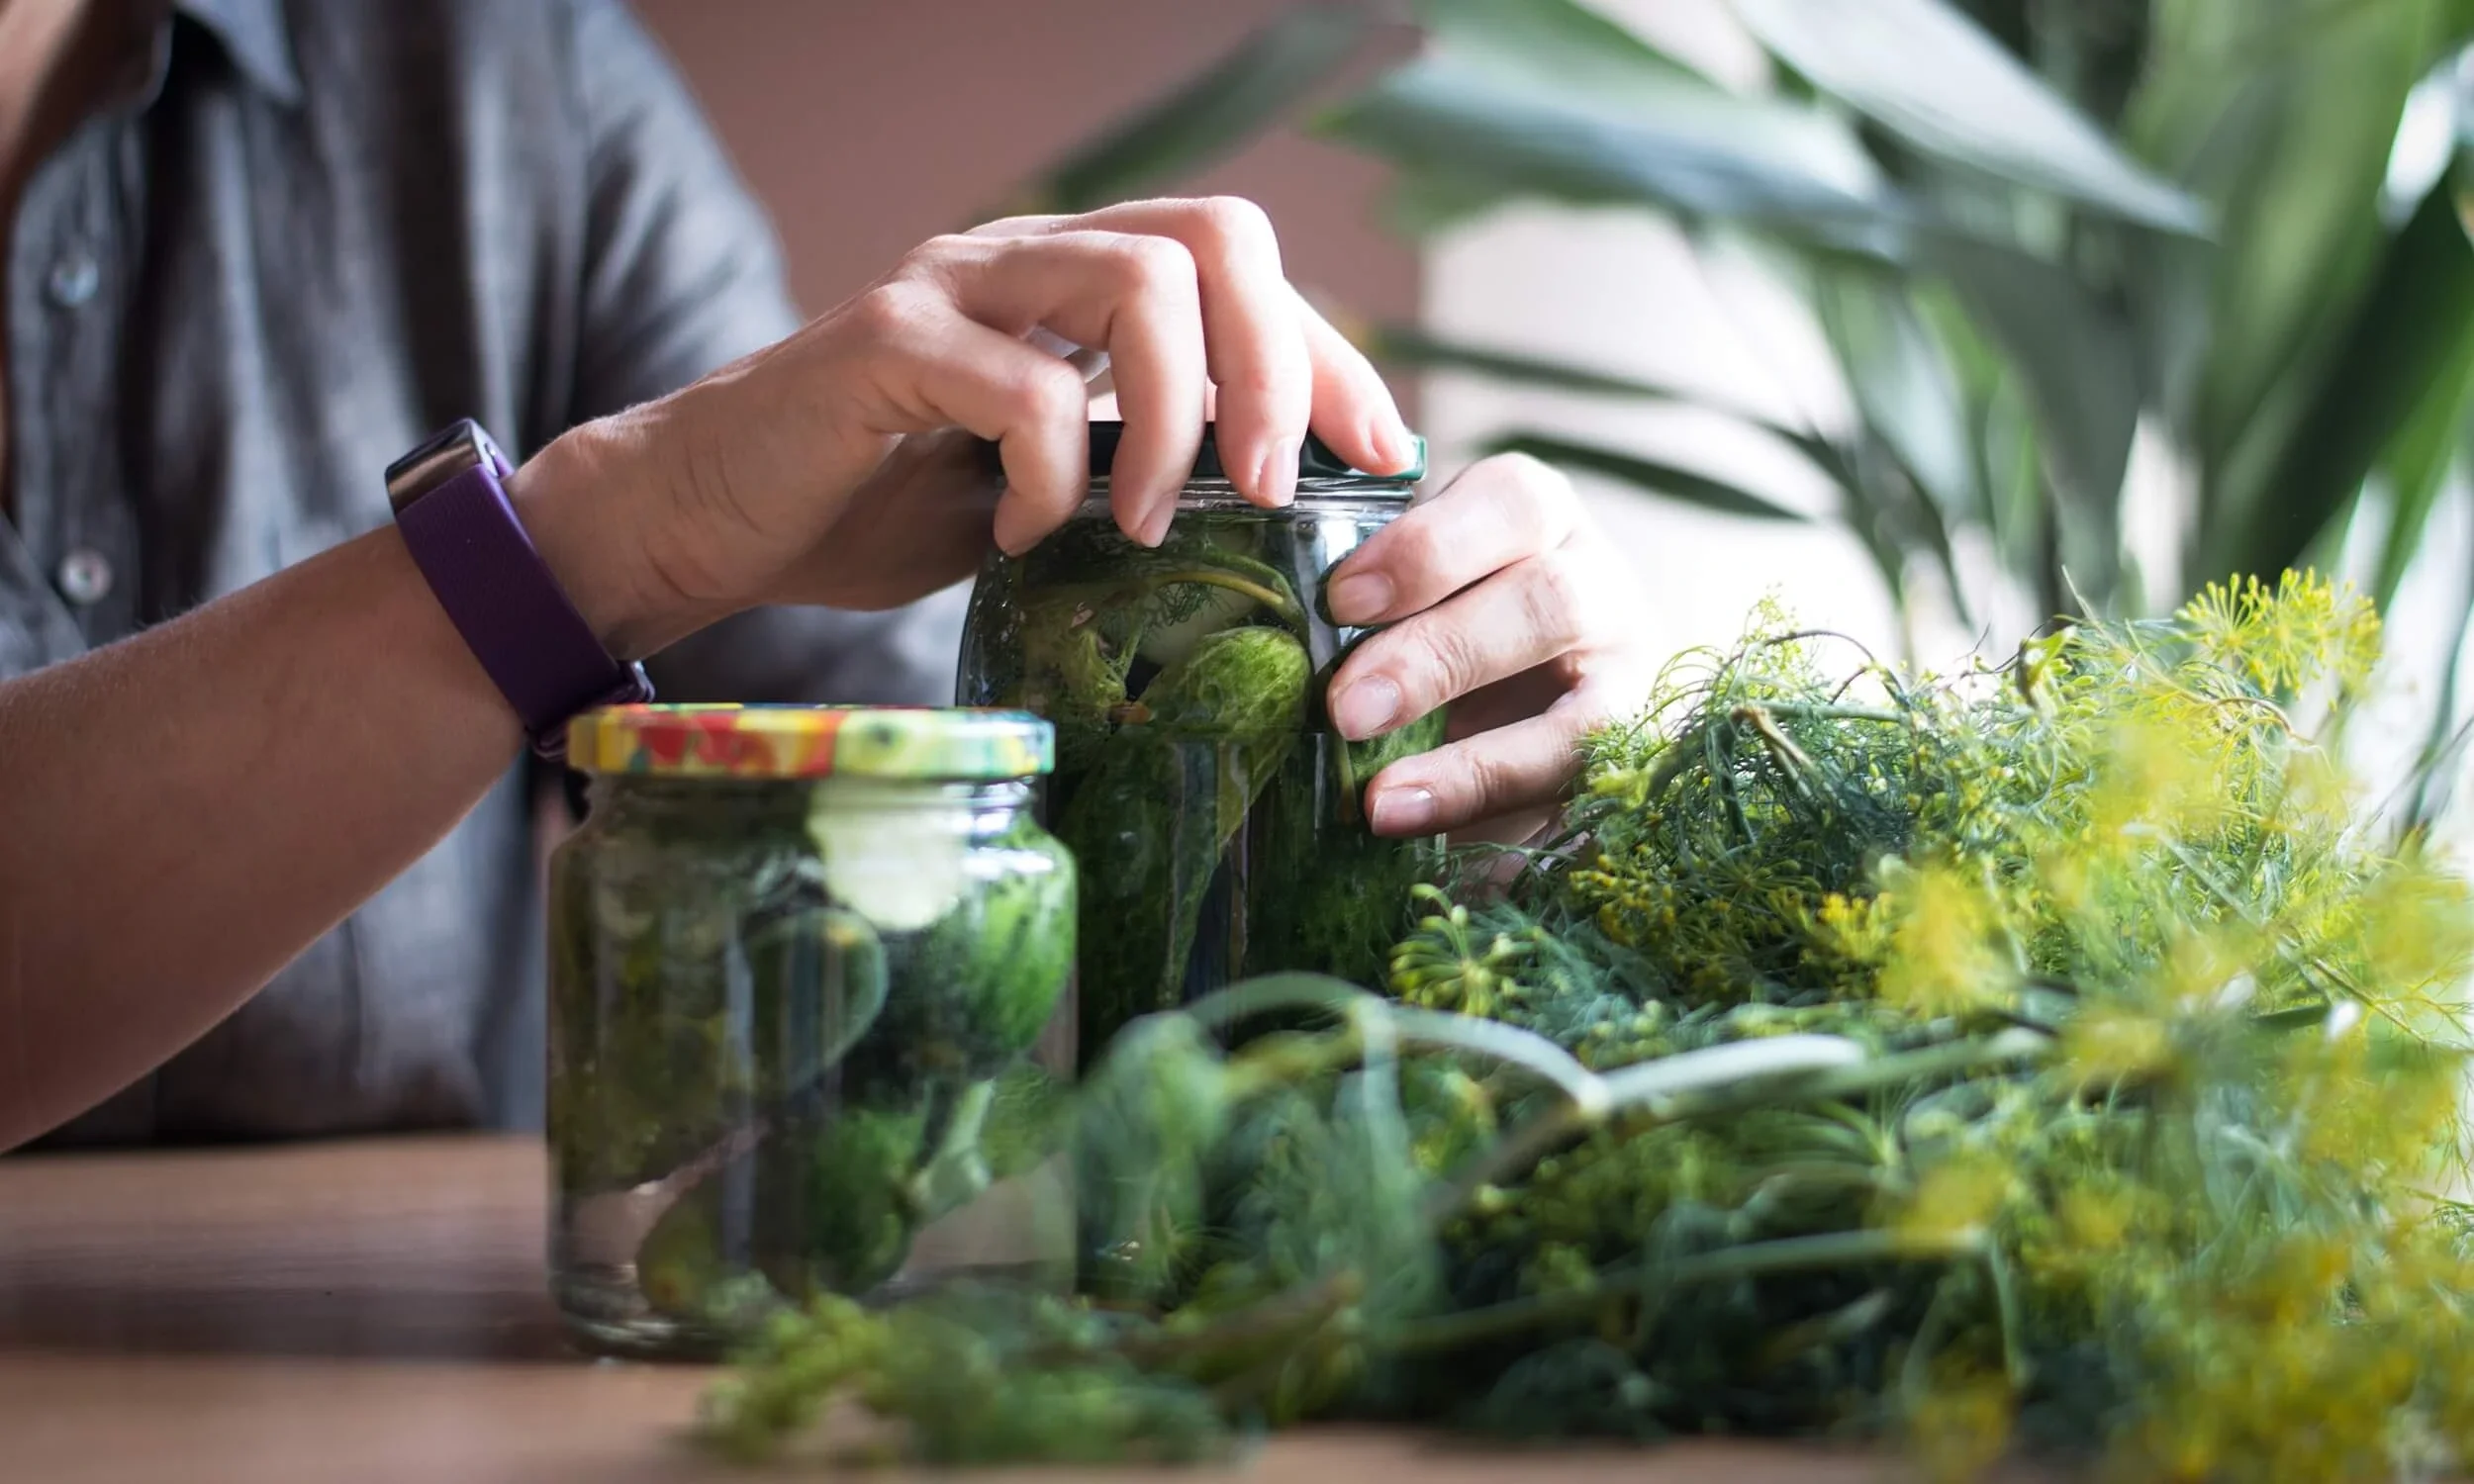
Pour the brine: Cover everything completely and gently tap out air bubbles.
Seal the jar: Close the lid and let the jar cool on the counter.
Refrigerate: Chill for at least 24 hours before tasting.
This method creates a crisp, bright jar with a balanced base that's easy to customize with your favorite herbs and spices. As you become more comfortable, you can adjust the seasoning and vegetables to create your own signature batch.
“Curious About Cooking Together?
If this project has you wanting a little company in the kitchen, our team is always glad to help. We can talk through what kind of class might feel good for your group.”
Troubleshooting for First-Time Picklers
Even simple methods can raise questions. Beginners often want reassurance as they learn how to make pickles at home, and these notes address the issues people run into most often.
Common concerns include:
Soft texture: Use fresher produce or trim blossom ends on cucumbers.
Too salty: Reduce the salt slightly or increase the water in the brine.
Muted flavor: Extend the resting time or adjust your spices.
Cloudy brine: Check for additives in the salt or sugar.
These small fixes help your jar land closer to the flavor you're aiming for.
Simple Variations to Explore
When the basic method feels familiar, you can start experimenting with different flavor combinations.
Try combinations such as:
Classic dill: Fresh dill, garlic, and peppercorns create a traditional flavor.
Spicy versions: Chiles or peppercorns add heat without overpowering the vegetables.
Sweet-and-sour: A little more sugar softens the sharp edges of the vinegar.
Garlic-forward: Extra cloves create a richer, deeper flavor profile.
These variations fit easily onto charcuterie boards, sandwiches, salads, or shared meals, adding color and crunch wherever they're served. Homemade pickles also bring a bright, seasonal touch to grazing tables, appetizers, and other dishes often enjoyed at weddings and celebrations, making them a natural addition to wedding catering menus. Experimenting with different herbs and spices is one of the best parts of learning how to make pickles at home because every batch can be a little different.
Curious About Canning? What to Know Before You Try It
Canning appeals to people who want longer storage. Many beginners start with quick pickles before exploring shelf-stable methods. If you decide to try canning, always follow a trusted, tested process that matches your recipe, jar size, and altitude to ensure safe preservation.
This method differs from quick pickling because it uses heat to seal jars for long-term storage. You sterilize jars, prepare the brine, fill each jar, process them using the appropriate canning method, and store them at room temperature. Although it requires more attention than refrigerator pickles, it provides a much longer shelf life.
Storage, Safety & Shelf Life
Once you know how to make pickles at home, storing them properly helps preserve their flavor, texture, and freshness.
Keep these points in mind:
Refrigerated life: Most quick pickles stay fresh for 2 to 4 weeks when stored in a clean, sealed jar.
Flavor develops over time: The taste becomes deeper as the vegetables rest.
Signs to discard: Off smells, mold, or unusual textures mean it's time to throw them away.
Proper sealing: Tight-fitting lids help preserve freshness and crunch.
Handled this way, your homemade pickles will stay fresh and taste the way they should.
“Wondering What a Class Might Cost?
Every group comes in with different needs—size, time, menu, and the type of experience they’re hoping for. If you want an idea of cost, we can talk through possibilities and land on something that works well for you.”
Cooking & Creating Together at Culinary Eye
At Culinary Eye, we see how small kitchen projects like this open people up. When guests join our interactive cooking classes, they often begin with something familiar before discovering how much they enjoy working with fresh ingredients and learning new techniques. Pickling is a perfect example. Once you know how to make pickles at home, you start noticing how these bright, crunchy additions bring balance to sandwiches, salads, charcuterie boards, and everyday meals.
That appreciation for fresh, seasonal flavors carries into everything we create, from cooking classes to catering for corporate events and private celebrations. Thoughtful details like house-made pickles and seasonal accompaniments can add texture, color, and balance to a menu while creating meals people genuinely remember.
Like many simple kitchen techniques, pickling becomes easier with practice. Every new batch helps you refine your flavors, build confidence in the kitchen, and discover new ways to share good food with others. If you'd like to continue building those skills alongside fellow food lovers, we'd love to welcome you into one of our cooking experiences.
Frequently Asked Questions (FAQs)
How long do homemade pickles need to sit before they're ready to eat?
Most homemade quick pickles are ready to eat after 24 hours in the refrigerator. However, their flavor continues to develop over the next two to three days, creating a tangier, more balanced pickle.
Why are my homemade pickles soft instead of crunchy?
Homemade pickles usually become soft because the cucumbers weren't fresh, the blossom ends weren't removed, or the brine wasn't balanced properly. Using fresh produce, the correct vinegar-to-water ratio, and refrigerating the pickles promptly helps maintain a crisp texture.
Can you reuse pickle brine?
No, it's generally best to make a fresh batch of pickle brine. Reused brine becomes diluted after the first use, which can affect both flavor and food safety.
What vegetables can you pickle besides cucumbers?
You can pickle many vegetables besides cucumbers, including carrots, onions, radishes, green beans, cauliflower, peppers, asparagus, and beets. Most quick pickling recipes can be adapted by adjusting the resting time based on the vegetable.
What's the difference between quick pickles and fermented pickles?
Quick pickles are made with a vinegar-based brine and stored in the refrigerator, while fermented pickles develop their flavor naturally in a salt brine over time. Quick pickles are ready sooner, whereas fermented pickles require several days or weeks to mature.
Do homemade pickles need to be refrigerated?
Yes. Homemade quick pickles should always be refrigerated because they aren't processed for shelf-stable storage. Keeping them cold helps preserve their freshness, flavor, and texture.
How long do homemade pickles last in the refrigerator?
Homemade quick pickles typically last 2 to 4 weeks in the refrigerator when stored in a clean, sealed jar. Always discard them if you notice mold, an off smell, or changes in texture.